Part 1 - Project Setup
In the first part of this tutorial series, we are going to be working on project setup for both the frontend and the backend of the Imgur image-hosting clone that we are going to be building.
By the end of this section, you will have two separate projects that built using the vue cli for our frontend Vue.js application and the npm cli for our backend Node.js REST API that will be powering our frontend.
Introduction
This section of the course is going to show you the standard approach that is taken to kick-start new Node.js and Vue.js applications.
We’ll be creating two distinct folder structures to house both applications but these will both live alongside each other in a single Github repository. The reason we’ll be using a simple repository for this is to minimize complexity, this course is more focused on teaching you how to build web applications with Vue.js and Node.js as opposed to teaching you how to use git.
Prerequisites
In order to complete this section of the course, you will need the following tools installed on your machine:
node- This can be installed by following the instructions on the official Node.js Downloads page.npm- Thenpmcli typically comes bundled within the Node.js download.git- You will require a github.com account as well as thegitcli installed on your local machine.
There will be more dependencies required throughout the course, but as and when they come up, I’ll give you the commands necessary to install them on your local development machine.
For now, this is all we need to get started!
Scaffolding our Frontend Application
The first thing we will want to create is the base for our frontend application. In order to install the cli on your local machine, you can run the following npm install command:
$ npm install -g @vue/cli
$ vue --version
3.4.0
With this installed, we can then navigate into the root of our project’s directory and run the following command:
$ vue create frontend
Select the default presets when prompted and the vue cli will at that point start downloading all of the dependencies the base-project requires in order to run and build locally.
With that complete, navigate into the frontend/ directory and start your new Vue.js application by calling npm run serve.
$ cd frontend
$ npm run serve
This will start a live development server for our application which will automatically rebuild whenever a new change is made to any of our application’s source code. This also exposes our application so that we can view it within a local browser.
Copy the Local: url that is displayed in the terminal into a new tab within a browser and you will see your application up and running!
Scaffolding our Backend Application
Now that we have successfully managed to create the base for our frontend application, we can start looking at how we scaffold our backend REST API.
We’ll start off by creating a new directory called backend/ within the root of our project’s directory and navigating into that directory using the cd command.
$ mkdir -p backend
$ cd backend
Within this newly created directory, we will want to run npm init to initialize our new Node.js application.
Upon running npm init you will be prompted for information such as the package name and the entry point for your application, keep these all as their default values for now by simply pressing enter for each one. If we need to go back and change these later, we can do so by modifying the package.json file that is generated by this command.
With this complete, we can now create the base of our express.js based REST API.
Create a new index.js file within the backend/ directory and add the following:
const express = require('express')
const app = express()
const port = 3000

app.get('/', (req, res) => res.send('Hello World!'))

app.listen(port, () => console.log(`REST API Started on port ${port}`))
Now, in order for this to work, you will have to first install the express.js node package that we import on the first line of our file.
$ npm install --save express
This will automatically append this dependency to a list of dependencies within the package.json that was generated for us earlier.
With this successfully installed, we can attempt to run our backend application by calling node index.js:
REST API Started on port 3000
We can then open up http://localhost:3000 within our browser and with any luck we should see our new backend application successfully returning Hello World to us!
Initializing our Git Repository
Awesome, with this done, we can start looking at setting up the github repository we’ll be using for this tutorial series.
Note - For those that have never used
githubbefore, it is essentially a place for us to store our application source code as well as keep track of any changes we make to our application. It should be noted thatgitandgithubare not the same thing, the first is a tool that is compatible with any git-based source control system and the second an application built on top ofgit.
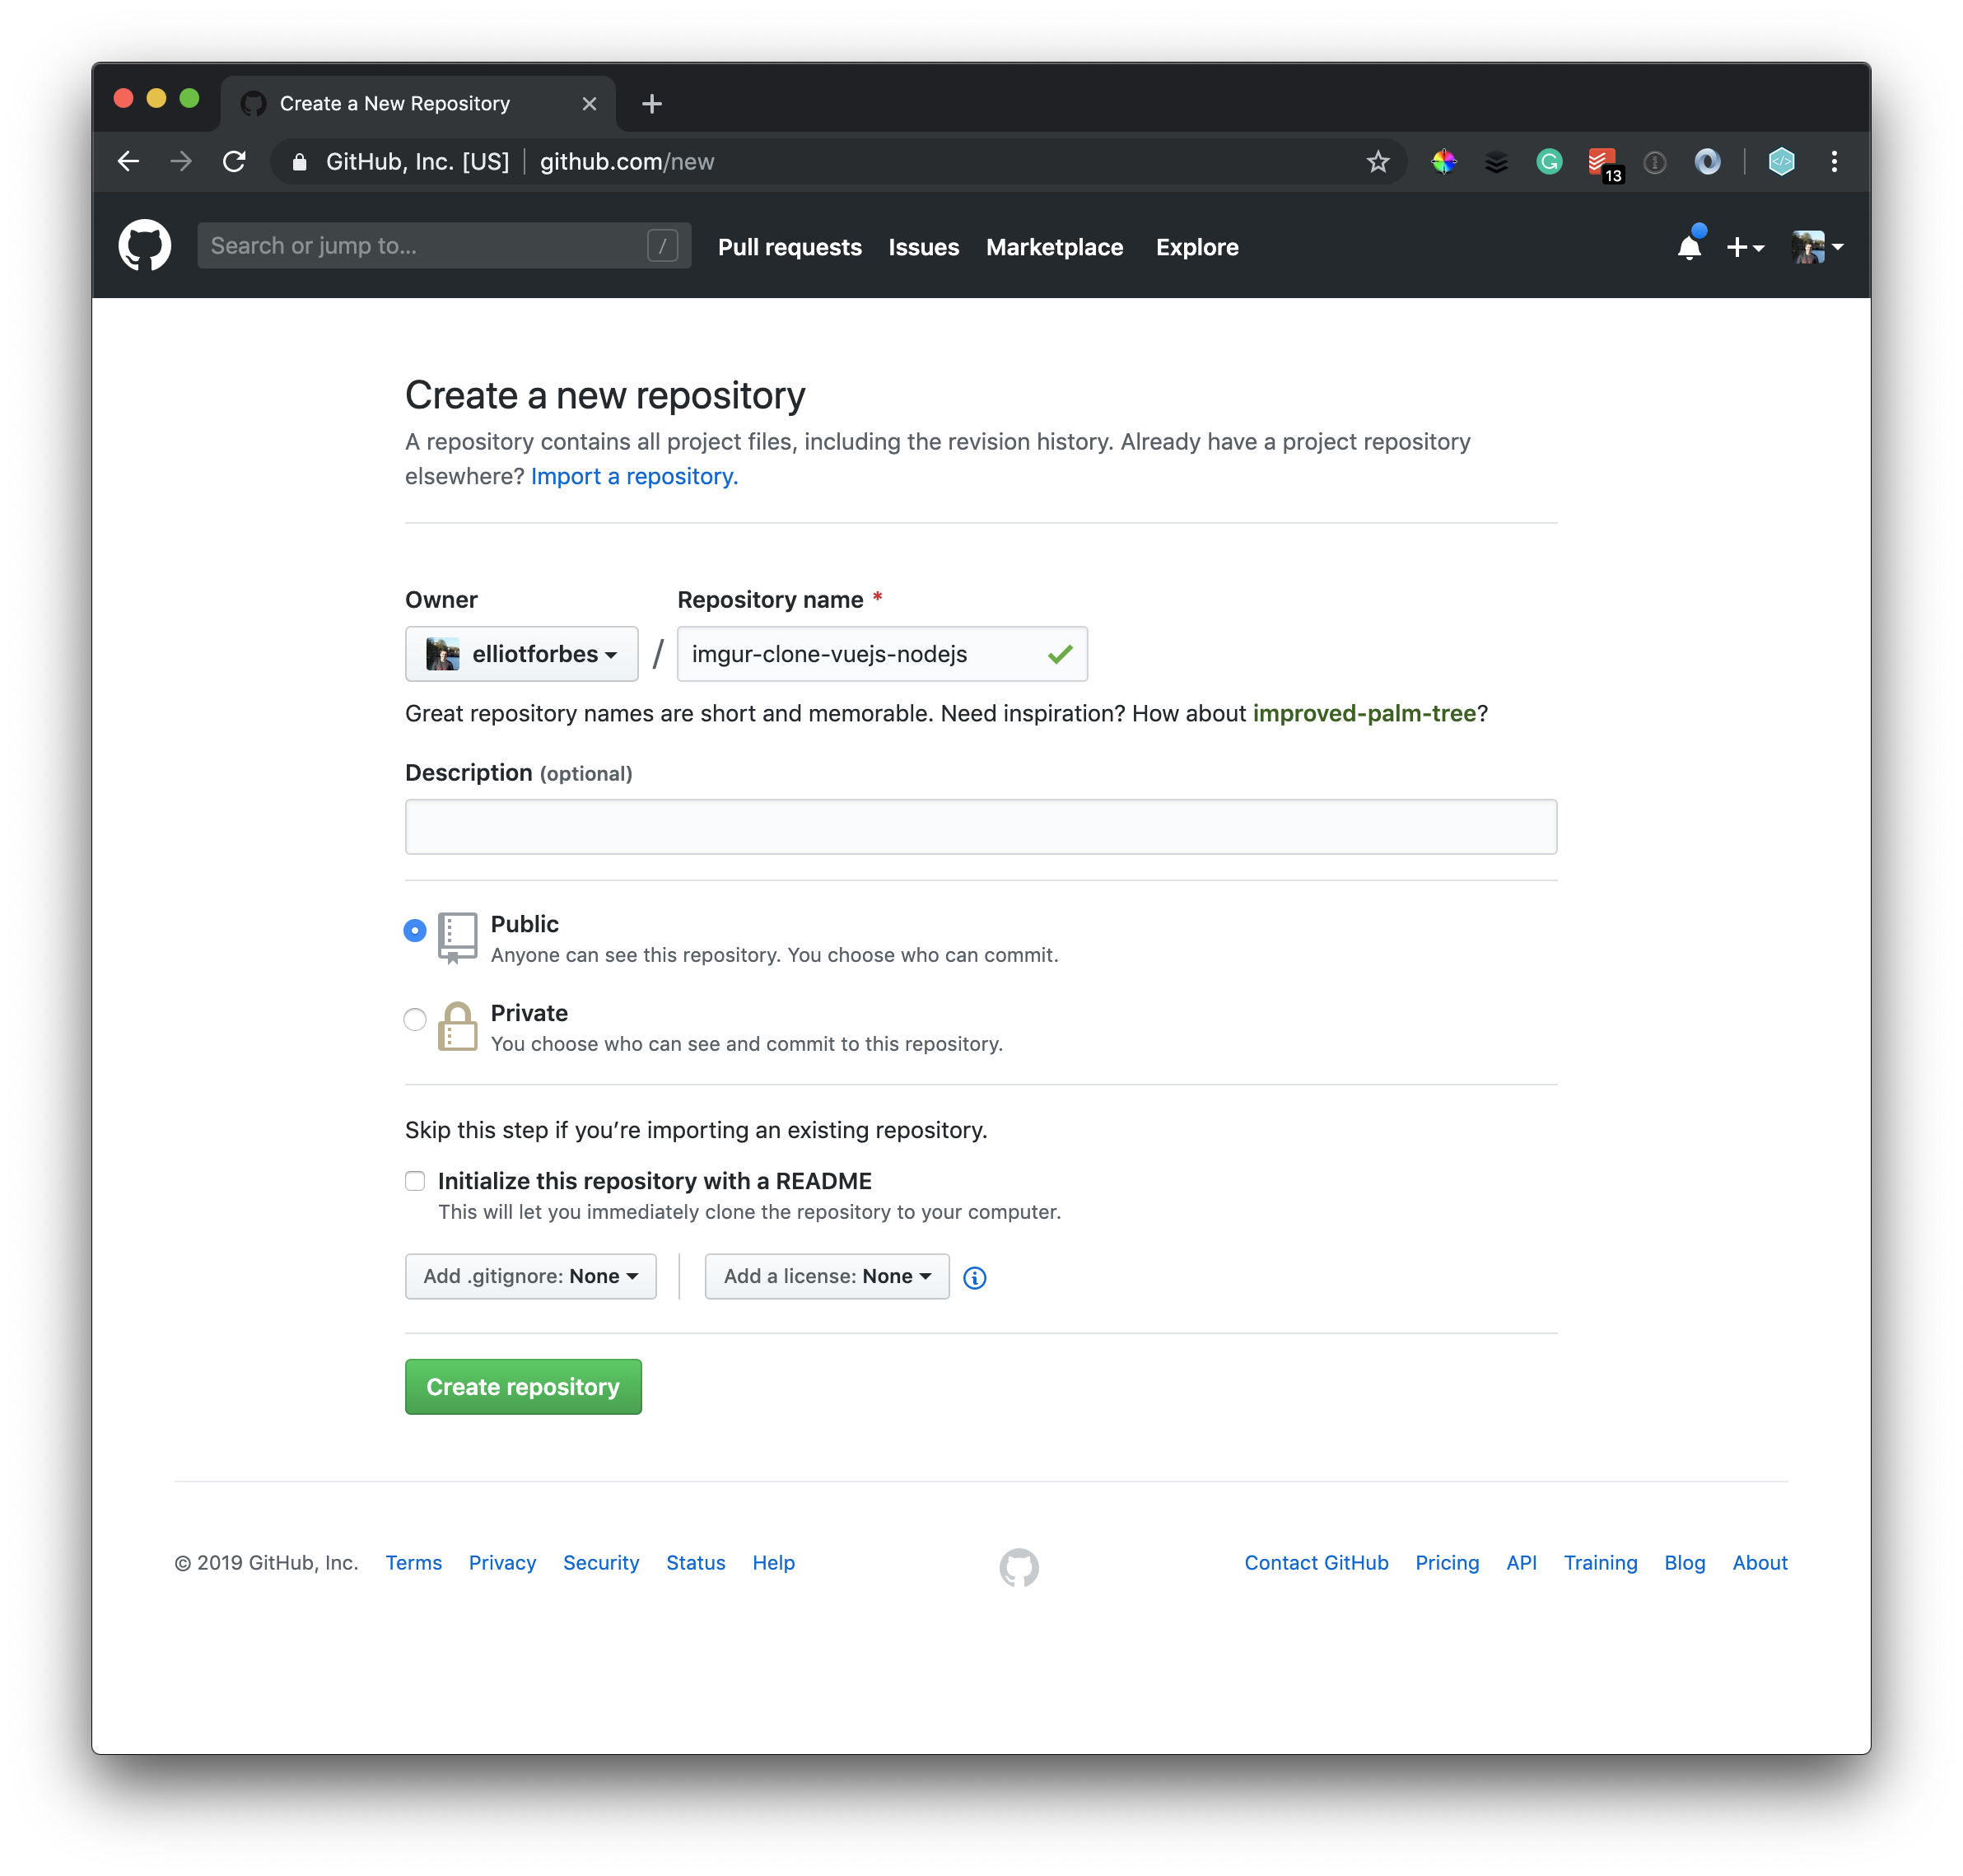
First, you will need to log in to your github.com account and create a new repository.

This will instantly create a free repository for us in which we can store all of our applications source code. It is incredibly important to note that any and all files you push up to a public repository can be viewed by anyone, so please do not push up anything you do not wish the rest of the world to see like API credentials or usernames + passwords.

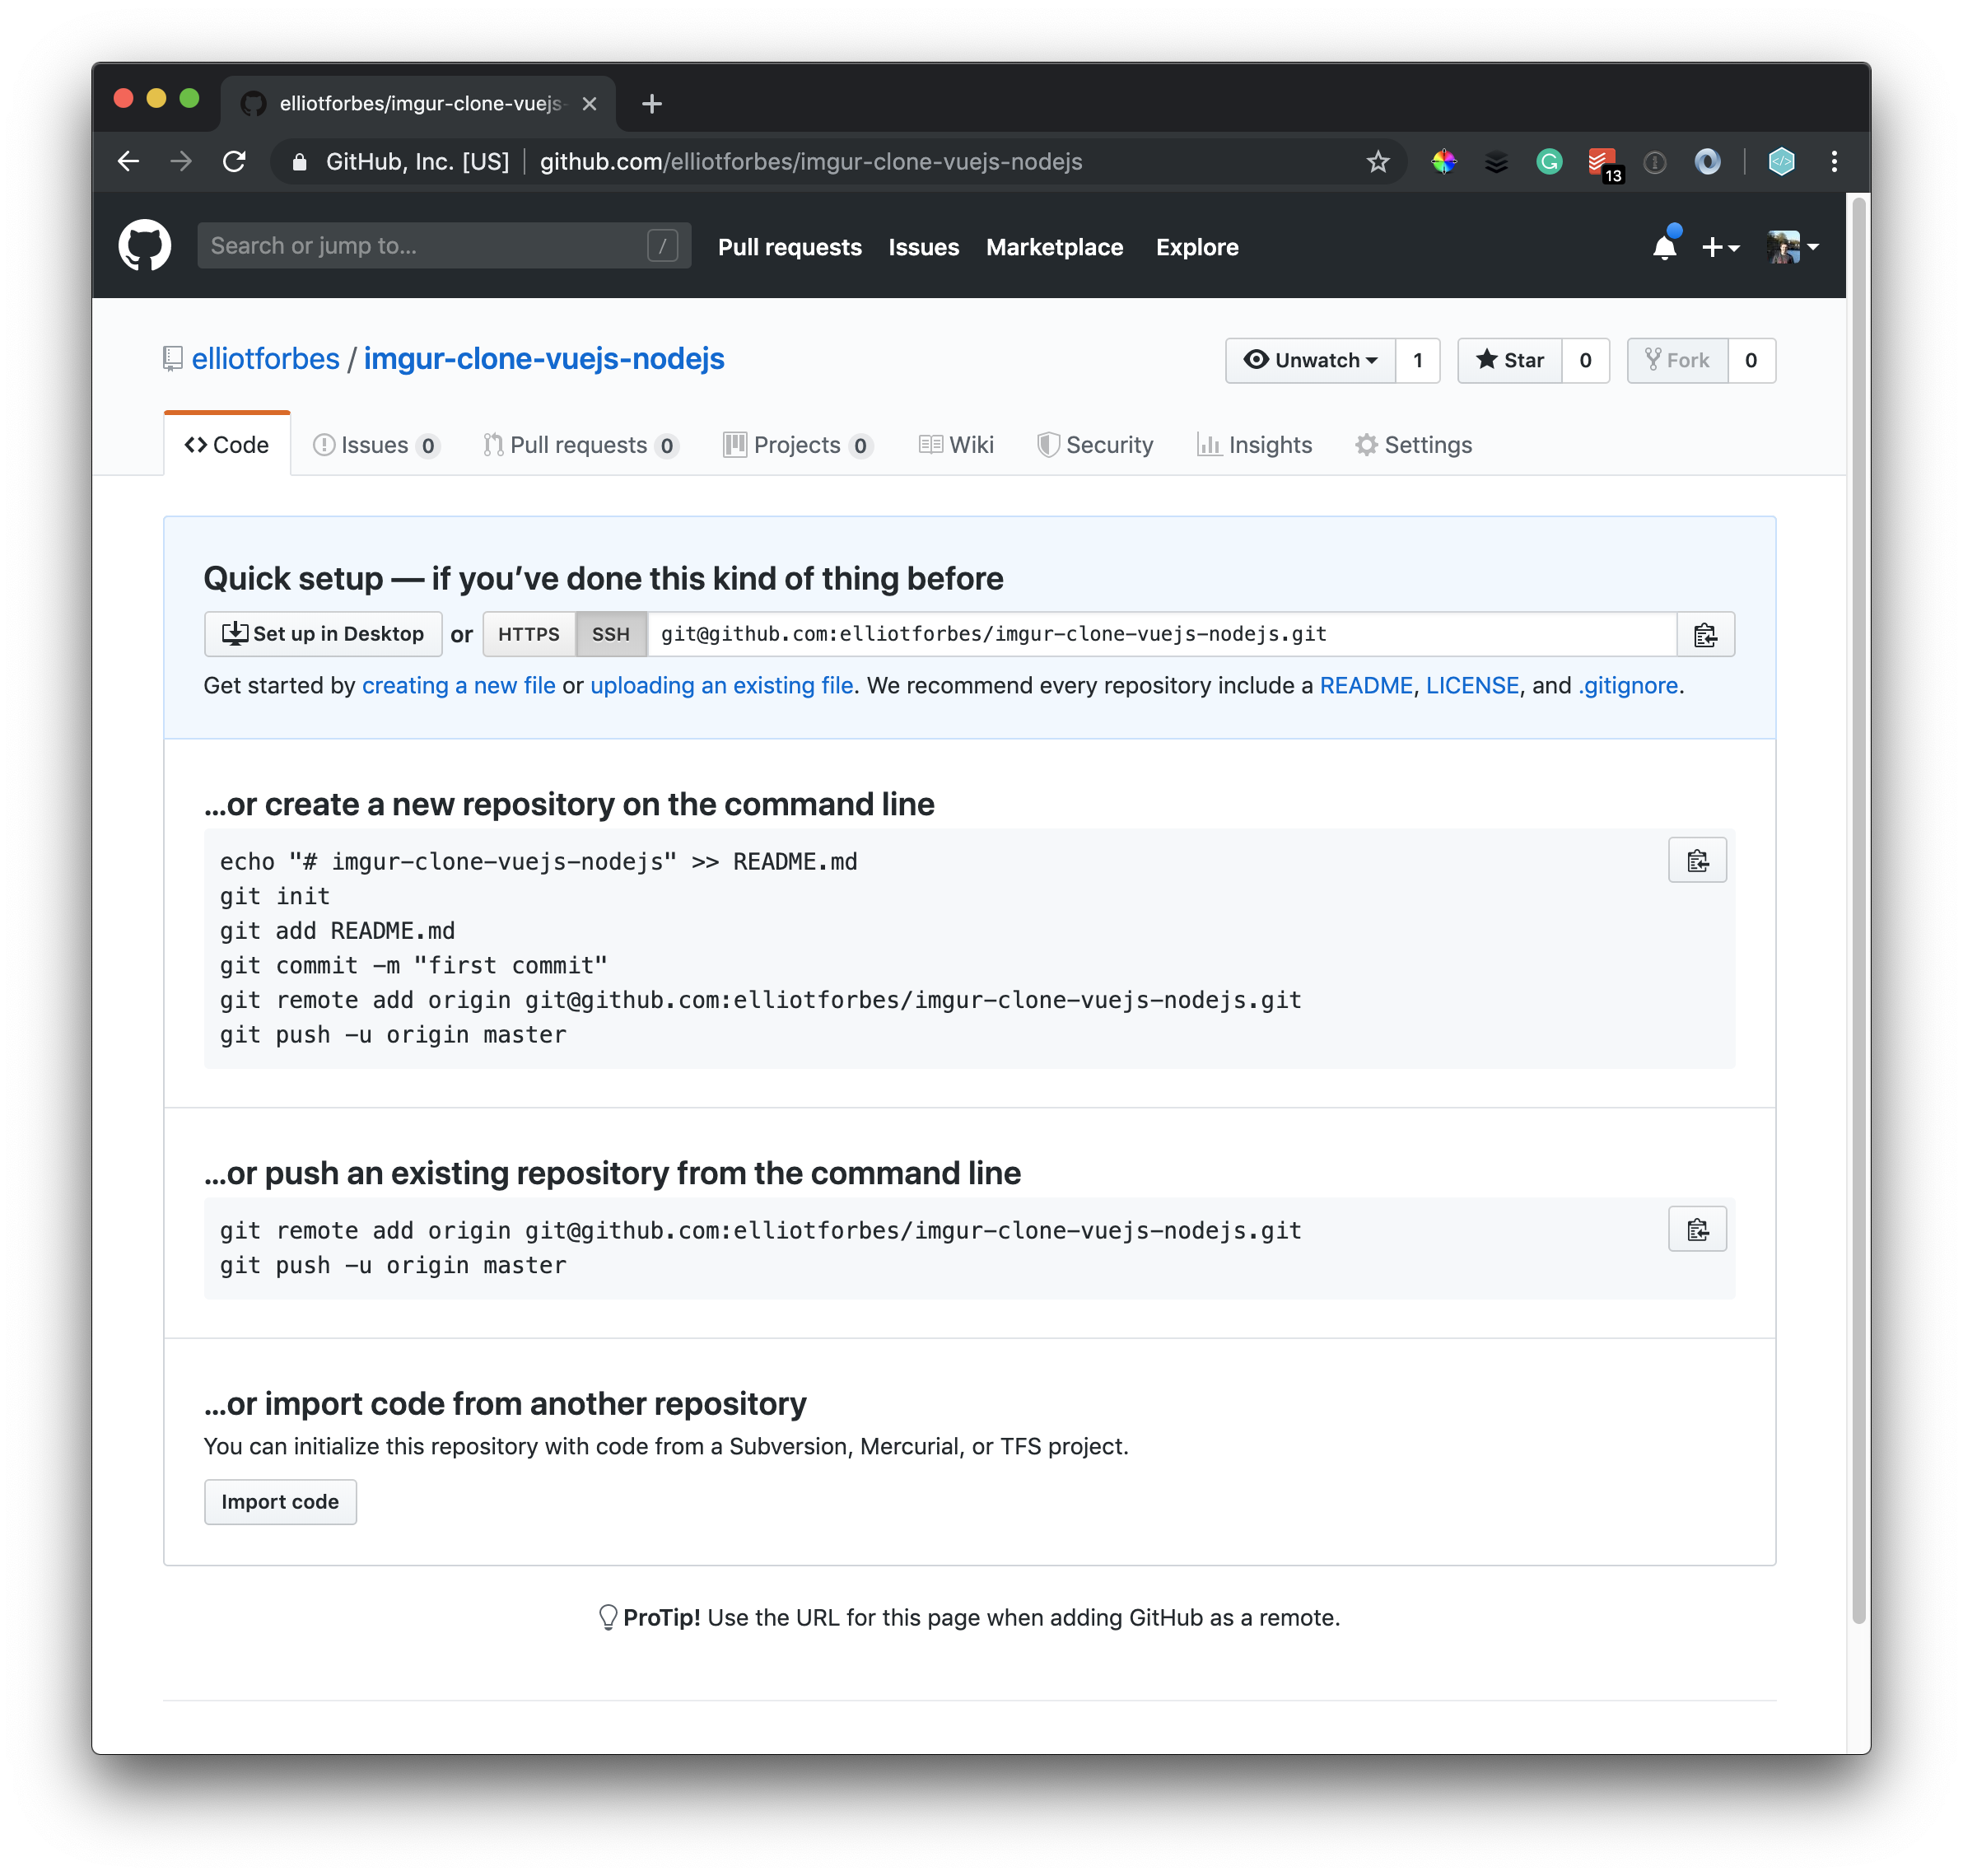
With this repository created, we can then initialize our local project and add then commit and finally push all of our source code up to this repository like so from the root of our project:
$ git init
$ git remote add origin https://github.com/elliotforbes/imgur-clone-vuejs-nodejs.git
This may prompt your to enter your username/password for github if you haven’t already authenticated.
Before we push up our application source code, we will want to create a .gitignore file within the root of our project’s directory which will contain a list of any files + directories we do not wish to push up to github.
backend/node_modules/

frontend/node_modules
We will then want to run git add .gitignore so that git can see these new rules for ignoring files and will subsequently not push up the node_modules/ to github.
The vue cli automatically creates a .git directory within the root of our frontend/ directory, this confuses git and in order to clear up this confusion and keep things simple we will have to delete this .git/ directory like so:
$ cd frontend
$ rm -rf .git
And finally, we will be able to perform a push and push up all of the code within both directories like so:
$ git add -A
$ git commit -m "Initial Commit"
$ git push origin master
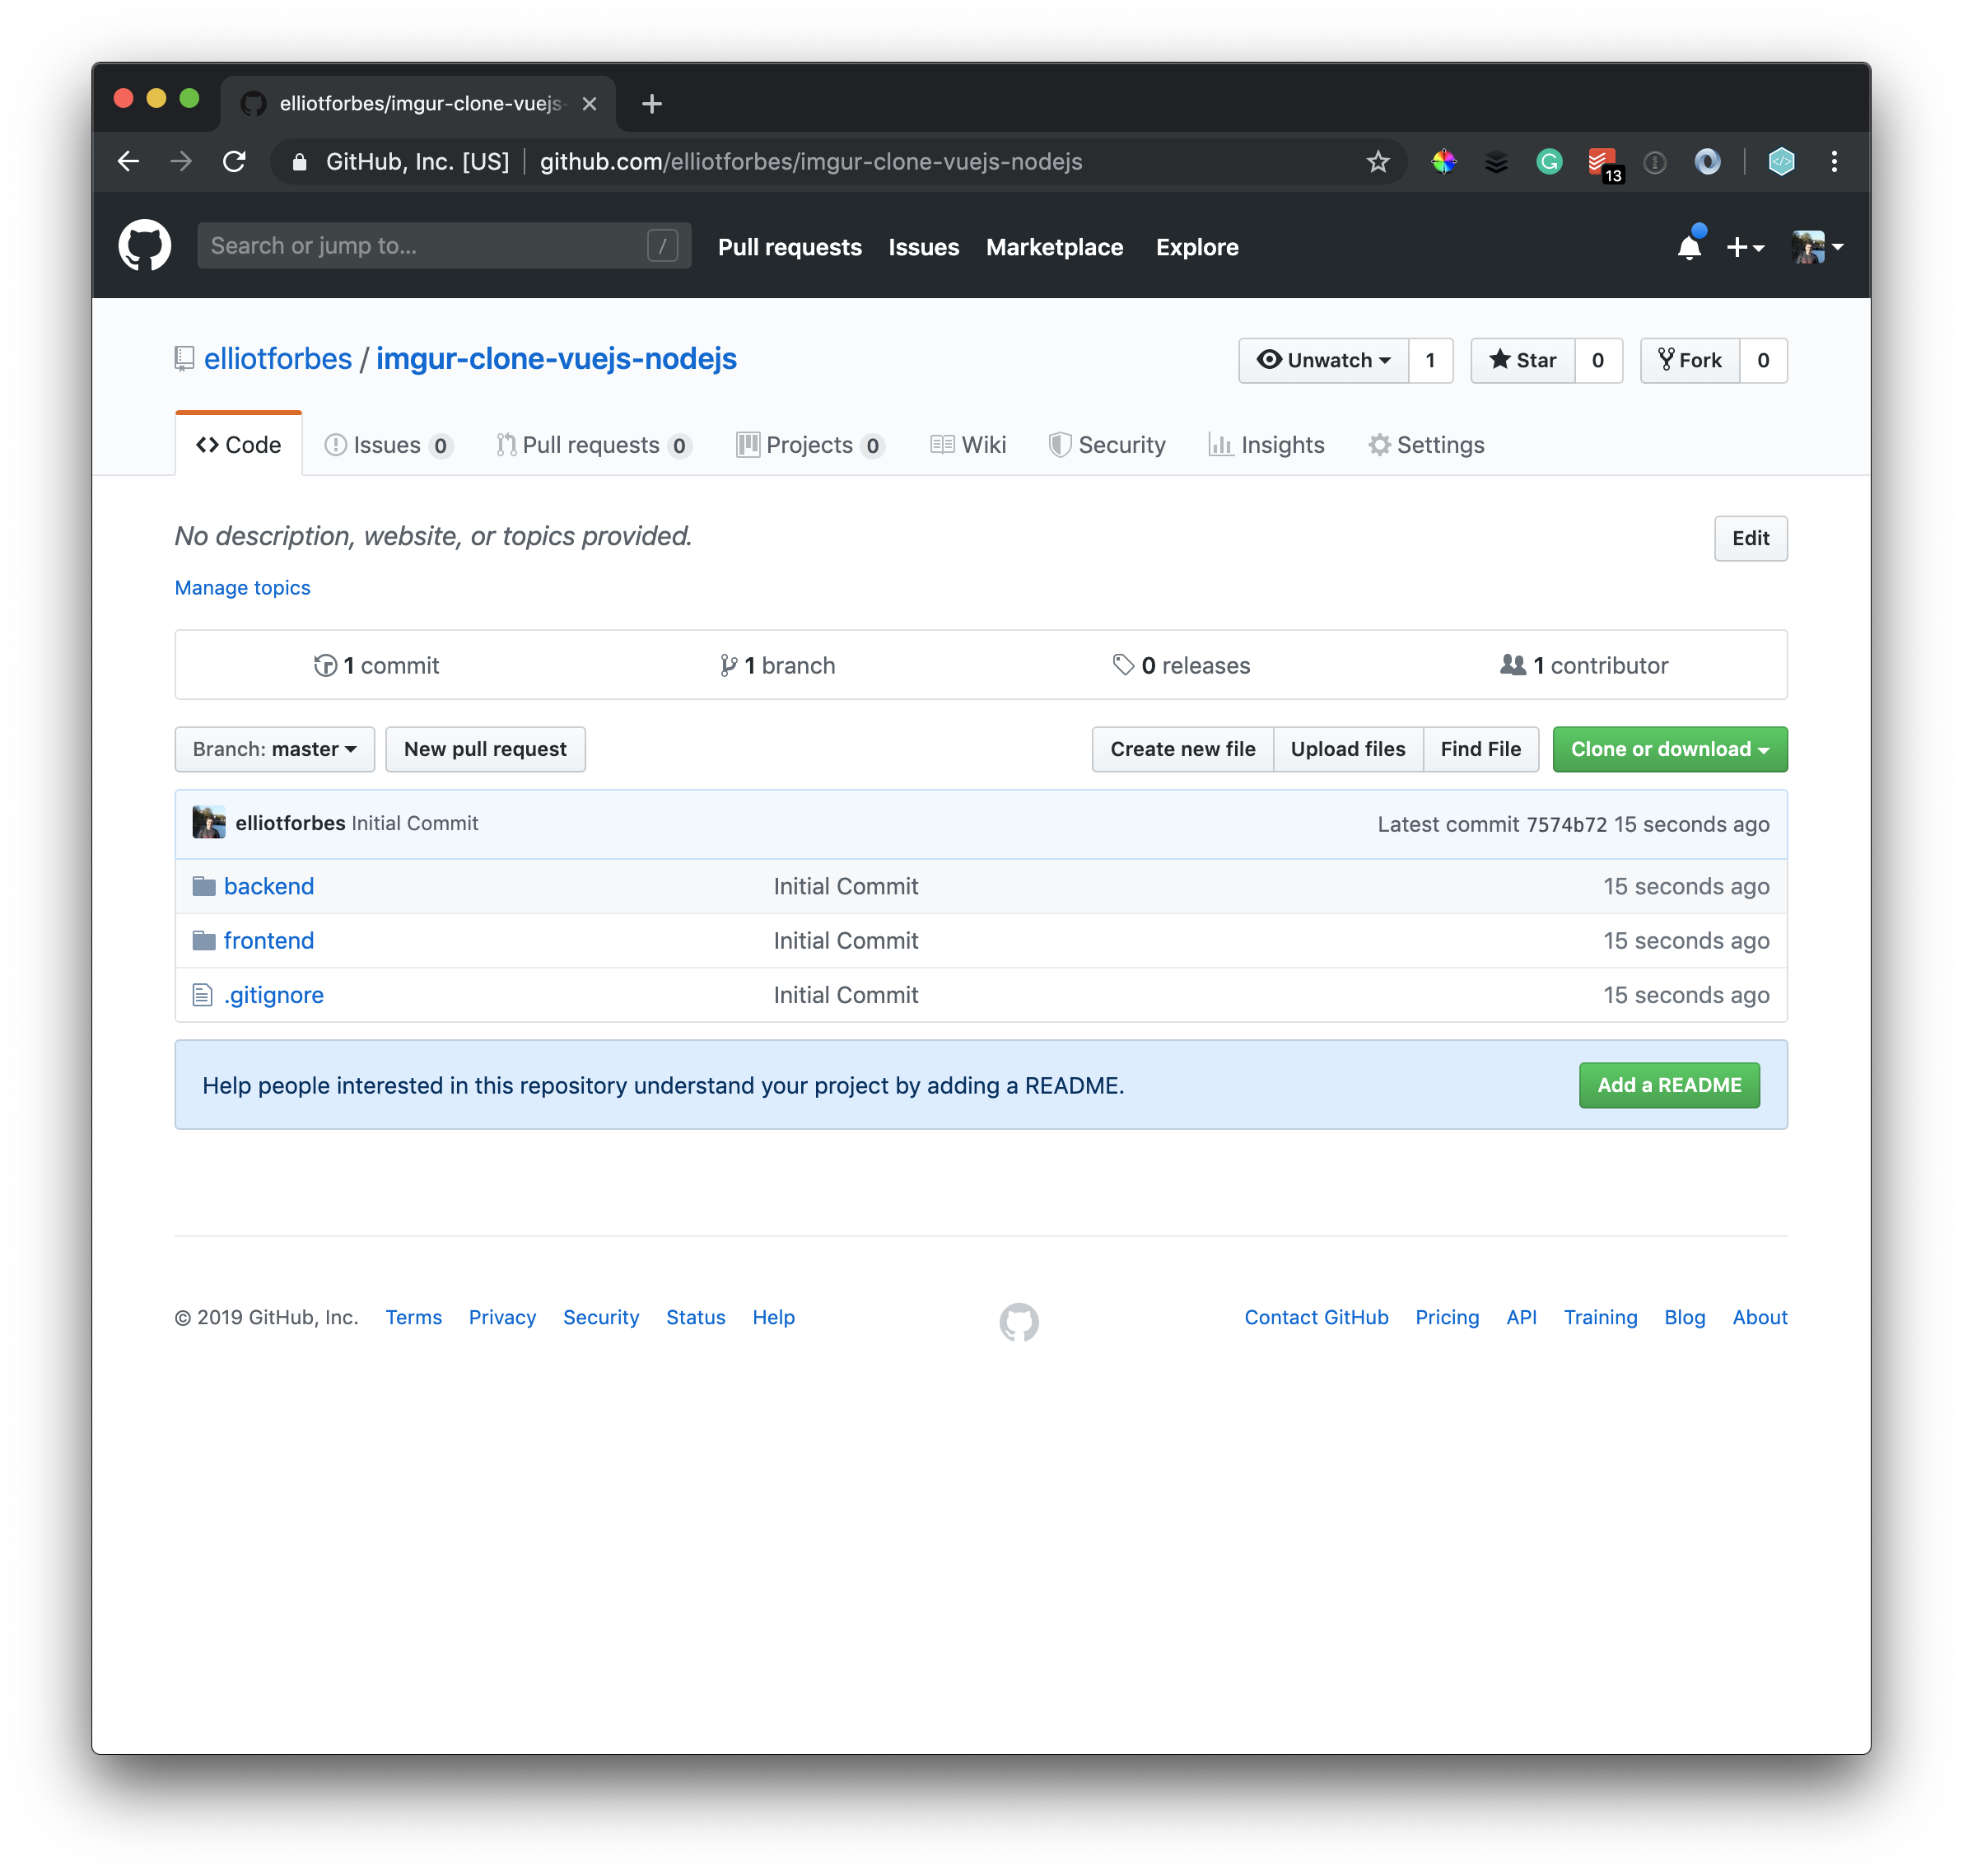
Once these commands have been successfully performed, you will now see all within your repository both the frontend/ and backend/ directories as well as all of the code within those directories on github.

Conclusion
Awesome, in this part of the series, we have successfully built the base for both our frontend Vue.js application as well as that of our Node.js REST API that will power our application and handle things such as authentication and file-uploading.
We have also looked at how we can set up a github.com repository within which we can store our application’s source code. It’s a great habit to use source control for everything you do, even if it happens to be a simple test project as it gives you more experience working with the git cli which is the current industry standard tool for source control.
Next Tutorial:
In the next part of this tutorial series, we will be exploring the world of Vue.js and modifying our existing frontend application by creating new simple components.

